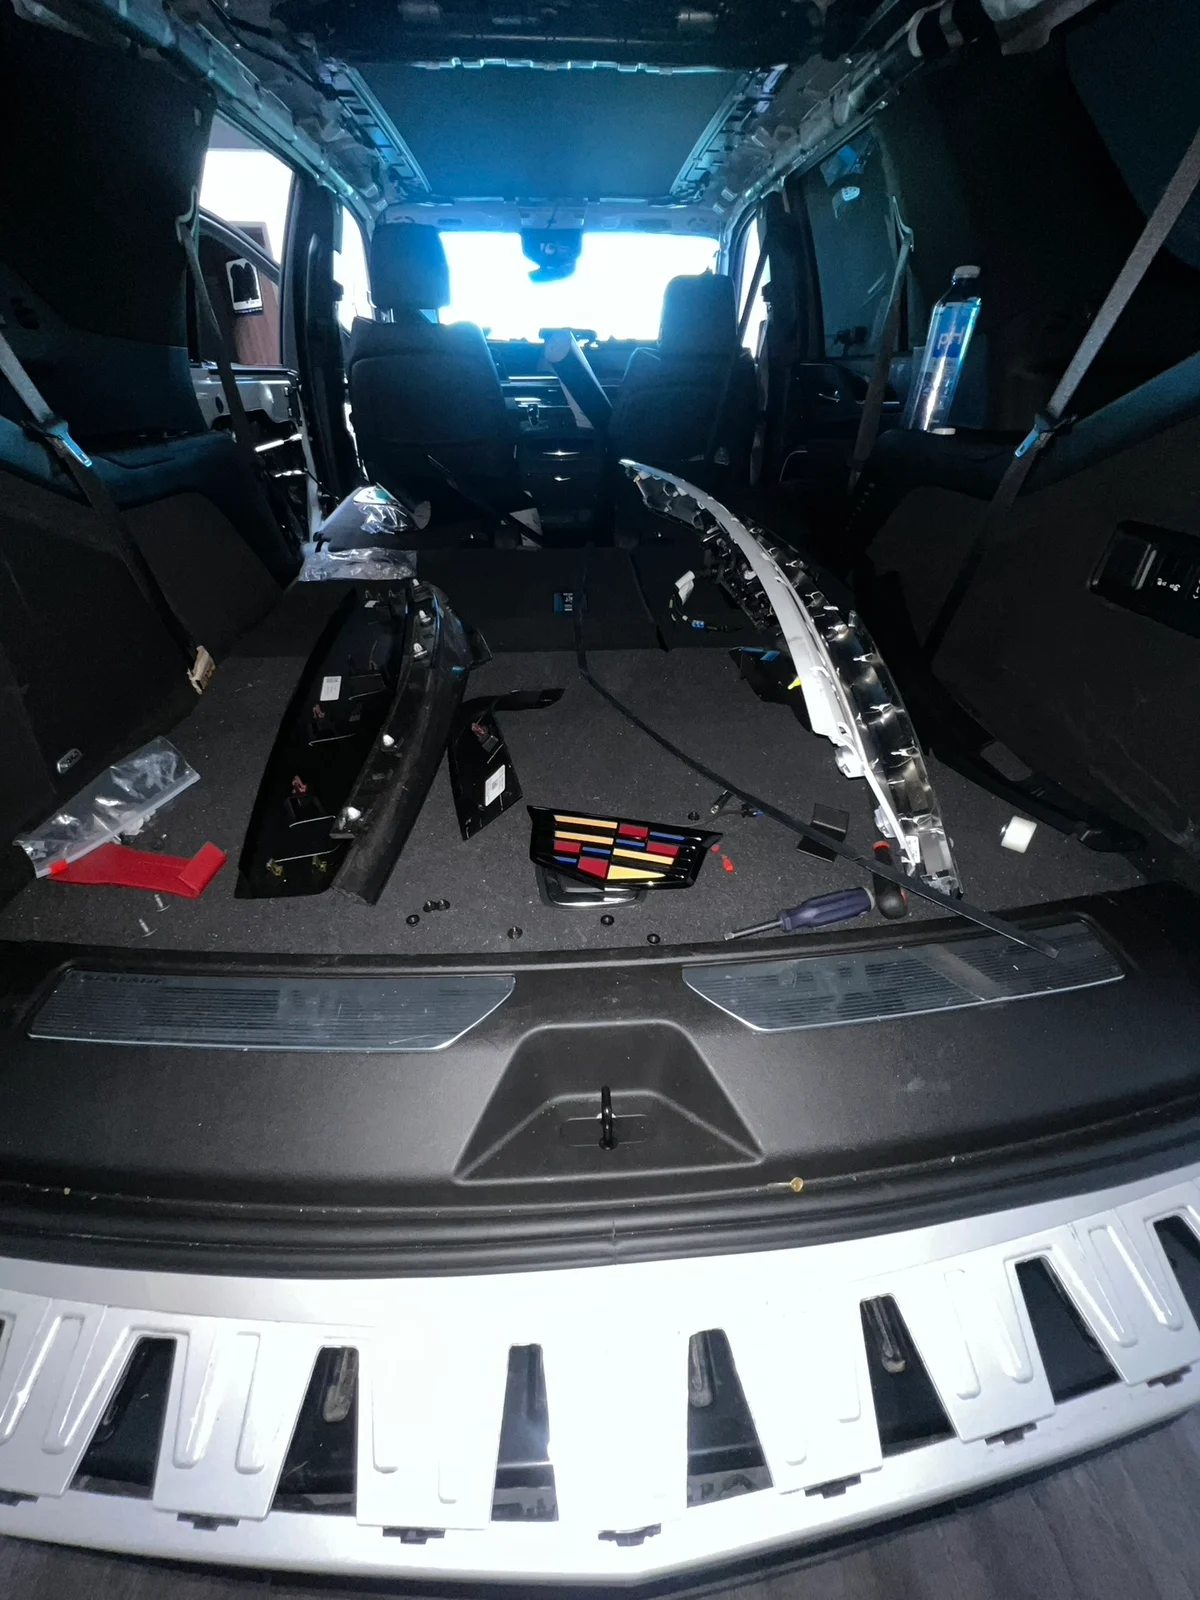
The installation is not finished when the stars light up on the workbench. Panel fit, controls, power behavior, original functions and the daylight finish need attention too.
1. Establish the vehicle and the agreed design
Record the year, model, trim, roof configuration and previous modifications. The first decisions are which surfaces will receive stars, whether upholstery is changing and which effects are included. A photograph and a written scope should describe the same proposed result.
Photograph the original material, trim gaps and any pre-existing marks. Operate the roof and affected interior features before disassembly where appropriate. A baseline makes later conversations about the work more precise than relying on memory.
The equipment plan should identify the light engine, effects, control method and intended mounting area. Fiber reach and available clearance need to be considered before choosing the final pattern. Buying a kit first can constrain the layout if its components do not suit the vehicle.
2. Use the correct removal information
Headliners are shaped assemblies held by vehicle-specific trim, clips, fasteners and related components. Removal access can involve more than the ceiling itself. Pulling the panel free without understanding its attachments risks damaging the carrier, fabric or nearby equipment.
Tesla’s published Model 3 headliner procedure is a useful example of this specificity: it links to other trim operations and calls for an assistant for panel removal. It should not be applied to a Mercedes or even assumed to cover a different Tesla version.
Manufacturer service information also matters where electrical systems and safety equipment are involved. This guide explains the project stages; it deliberately does not prescribe battery-disconnection timing, airbag handling, torque values or universal trim-removal directions.
Sources: Tesla: Model 3 headliner removal and installation ↗
3. Inspect the carrier, foam and upholstery
Once accessible, the panel can be assessed beyond what a cabin photograph shows. Check the condition of the carrier and existing material layers, including loose fabric or deteriorated foam. The preparation plan should address what is actually failing.
If new upholstery is part of the project, it needs a suitable substrate and a compatible bonding method. 3M offers a dedicated automotive headliner adhesive, illustrating that bonding the covering is its own material task. Its product guidance does not establish compatibility with every fiber, foam or trim combination.
The adhesive used for upholstery and the method used to secure fibers may be different. Avoid treating a generic instruction to “use glue” as a complete material specification. Follow the relevant product instructions for preparation, handling and drying before moving to the next stage.
Sources: 3M: Headliner & Fabric Adhesive 38808 product guidance ↗
4. Map the visible pattern and the hidden routes
Plan the star field around the panel’s actual shape, openings and mounting areas. Keep background stars, shooting-star paths and any custom shapes distinguishable in the plan. The points should make sense from the cabin while leaving a workable arrangement behind the panel.
A layout can use zones to allocate points without forcing the visible field into straight rows. Record which effect groups belong to which paths. This becomes especially useful when a sequence needs several channels in a particular order.
The back of the panel is not empty space. Tesla’s separate headliner-harness procedure, for example, identifies connections for items including microphones, lamps and speakers. That illustrates why the original equipment must be mapped alongside the added fibers rather than discovered after the pattern is complete.
Sources: Tesla: components connected to the Model 3 headliner harness ↗
5. Place and secure the fibers
At a high level, suppliers describe marking the locations, creating appropriate openings, passing strands through from behind and securing them before the final tip finish. The exact tools and opening sizes depend on the carrier, fabric and chosen fiber.
Material handling matters. LOWGLOW’s instructions specifically warn that excessive glue-gun heat can damage its strands. That is a kit-specific warning with a broader planning lesson: verify the thermal and chemical suitability of the actual materials rather than assuming every adhesive method is interchangeable.
Secure placement should not mean crushing a bundle or creating a hard lump that presses through the upholstery. The panel must still fit its original space. The finish should be assessed after the fibers and attachments are in place, not just while the bare board looks flat on a bench.
Sources: You Wish CSTM: kit installation sequence ↗ · LOWGLOW: kit-specific installation and troubleshooting ↗
6. Locate the engine and provide service access
A mounting area must accommodate the unit, its connections and the manufacturer’s environmental requirements. “Hidden” is not the same as “buried permanently.” Consider how the equipment can be reached if a connector, controller or light source later needs attention.
Measure the actual fiber route, including the path from the source through the vehicle and across the back of the panel. A straight-line measurement from the nearest star to the engine can underestimate the required length. Do not stretch fibers to make an unsuitable mounting choice work.
Follow the equipment’s bend and handling requirements. There is no single bend radius in this article that applies to every strand, bundle and sheath. Clearance must also be checked with the panel installed and any relevant mechanism moving through its full intended travel.
7. Integrate power and controls for this vehicle
The installer needs the actual input requirements and an appropriate power plan. A nominal voltage on a box does not specify a fuse position, wire route or connection method for your car. Vehicle electrical architecture and accessory behavior must be considered.
Agree whether the system follows a switched supply, how it behaves after parking and which controls operate independently of the car. If an app is part of the kit, record its correct name and demonstrate its pairing process. Do not promise factory-menu control unless that integration is established.
A wiring overview from a lighting seller is not a substitute for the vehicle’s service information. The goal is a documented, serviceable installation with an understood shutdown behavior, not simply a module that lights when connected.
8. Test before closure, then review the assembled result
Testing before the panel is fully closed can reveal an incorrect effect connection or a missing section while access is still practical. Check the main field and each separate effect, then review brightness, color and controls.
After reassembly, repeat the functional review and examine the actual fit. A setup that works on the bench can behave differently when a bundle is compressed or a connector is disturbed. Original functions affected by disassembly also belong in the completion check.
Inspect in daylight as well as at night. Oddie’s tissue test addresses snagging fiber tips at the surface. It complements the visual review, but it does not inspect electrical connections, concealed mounting or safety-system clearance.
9. Leave the owner with useful records
The handover should explain how to operate the installation and how to look after the material. Keep the equipment model, controller or app name, agreed effects and the written support terms. A future installer should be able to identify what is fitted without guessing.
Document any custom work that matters for future trim removal. If the headliner later needs to come out for an unrelated repair, whoever performs that job needs to know that fibers and added equipment are present.
For scheduling, distinguish working time from elapsed downtime. Material preparation, product instructions, parts availability and the agreed scope can affect collection. Ask for an estimate for the assessed vehicle instead of treating a video’s elapsed time as a promise.
- Demonstration of normal on/off and low-brightness operation.
- Every included effect and control method.
- Review of affected roof and interior functions.
- Daylight material and fiber-tip inspection.
- Equipment details, care instructions and written support terms.
Common questions
01Does the metal roof come off?+
Not for a conventional headliner installation. The roof shell is separated in our 3D illustration to explain the system; the work normally concerns the interior panel and associated trim.
02Can the headliner stay in the vehicle?+
Access methods vary. The installer needs enough access to prepare, route and secure the system correctly. A generic tutorial cannot determine the right method for every vehicle.
03How long does installation take?+
There is no reliable universal duration. Ask for the estimate after the vehicle, material condition and effects are assessed, including preparation and reassembly.
04Is this a step-by-step removal manual?+
No. It explains the stages and inspection questions. Removal, electrical and safety procedures must come from documentation for the exact vehicle and equipment.
Sources & further reading
Tesla: Model 3 headliner removal and installation ↗Tesla: components connected to the Model 3 headliner harness ↗3M: Headliner & Fabric Adhesive 38808 product guidance ↗You Wish CSTM: kit installation sequence ↗LOWGLOW: kit-specific installation and troubleshooting ↗Manufacturer references describe their own materials or equipment. Oddie’s Customs’ recommendations and finish checks are identified separately in the text.
Show us what you have in mind.
Send your year, model and roof type, plus the look you want. Looking for a matching installation photo? We may have an example beyond the public gallery.
Start your build brief